How to Create Bootable USB Drive for Windows 10
How to Create Bootable USB Drive for Windows 10
Microsoft has already released its latest Windows 10 update, and it is available as a free automatic upgrade to the Windows 7 and Windows 8 users. For those who are not one of these, the Windows 10 update is available on USB drives, DVDs and as also as a digital download.
If you are not comfortable with the DVDs, you can create bootable USB drive for Windows 10, which is a better option for a vast use in the most of the devices like ultrabooks that comes without an optical drive. The USB drives are much faster than other options and hold a pocketable time for installation of your Windows 10, easy to carry, whenever and wherever you want.
But if you do not have a bootable USB drive, and you don’t want to burn the ISO file on a DVD, you can follow the below steps for creating a bootable USB drive on Windows 10:
Note: Before creating a bootable USB drive, you should have an empty Pen Drive with at least 4GB of storage capacity, a Windows PC and an ISO file of Windows 10.
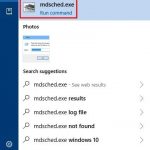
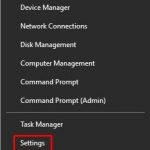
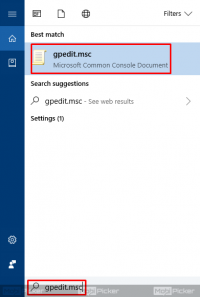
1. You need to click the “Start” button on Windows 10.
2. Type “CMD” on it.
3. Right-click on the Command Prompt.

4. Under the Command Prompt select the “Run as Administrator” option.
5. All the commands will open the command prompt with administrative priviledge.
6. After typing all the above commands hit “Enter”.
7. It will lead you to open the diskpart.
DISKPART:

8. Now, you need to connect your USB drive in your PC and follow the given commands.
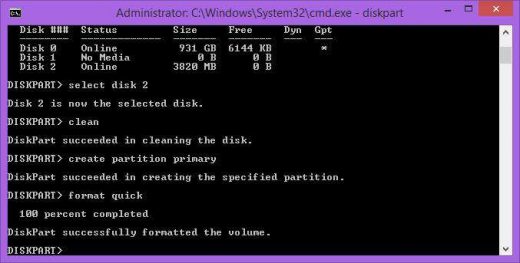
LIST DISK:

NOTE: In the above screenshot, disk ‘0’ is the Hard Disk, disk ‘1’ is DVD-ROM and disk ‘2’ is the USB drive. So, for a better concern note down your USB drive number.
9. Use the given commands to choose your USB disk in Diskpart.
SELECT DISK #
NOTE: Change the ‘#’ sign for your USB drive number from the one you have noted.

10. Now, write the following to erase all the data from your USB drive.
CLEAN:

11. You need to use the next command.
CREATE PARTITION; PRIMARY :

12. Format the USB drive using the following commands.
FORMAT QUICK:

13. Make it as an active partition.
ACTIVE:

14. Use the Exit command to leave the disk part without closing the Command Prompt window.
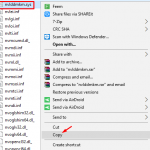
15. Now, you need to copy the entire data from Windows 10 disk to your USB drive.
16. To end your creation you have to write the bootloader to the USB drive.
But, in case you are using a virtual DVD-ROM with a “G” drive letter and your USB disk with “F” letter, then you have to type the following commands:
G:\BOOT\BOOTSECT /NT60 F: /FORCE /MBR

In other case, if you have extracted the ISO file from the folder of your Windows 10 PC, then you need to change the path accordingly as,
G:\Boot\Bootsect /NT60
NOTE: If you have completed all the above commands successfully, you can now boot from your USB drive and can install Windows 10 operating system on your PC.
The post How to Create Bootable USB Drive for Windows 10 appeared first on MobiPicker.
(95)