How To Rotate Video On iPhone And iPad Easily
How To Rotate Video On iPhone And iPad Easily
Numberless people make the mistake of recording a video on their iPhone or iPad while holding their device vertically. While there is nothing wrong with it per say, you’ll end up experiencing a side effect of your video laying vertically with huge black spots on both sides of the videos. Fortunately, however, Apple has taken the inconvenience seriously and has provided a fix for it. Now you can rotate your video easily using your own iPhone or iPad. All you need is iMovie installed on your iPhone or iPad. Let us mention the guide with pictures that will help you to rotate video on iPhone.
How To Rotate Video On iPhone or iPad
Follow the steps mentioned below if you are looking for an answer to how to rotate a video on iPhone or iPad.
1. Make sure that iMovie is installed on your iPhone or iPad. If you don’t have it yet, install it from App Store. Once installed, launch the application on your smart device.

2. Now browse through the videos on your iPhone in order to choose the one that you would like to rotate.
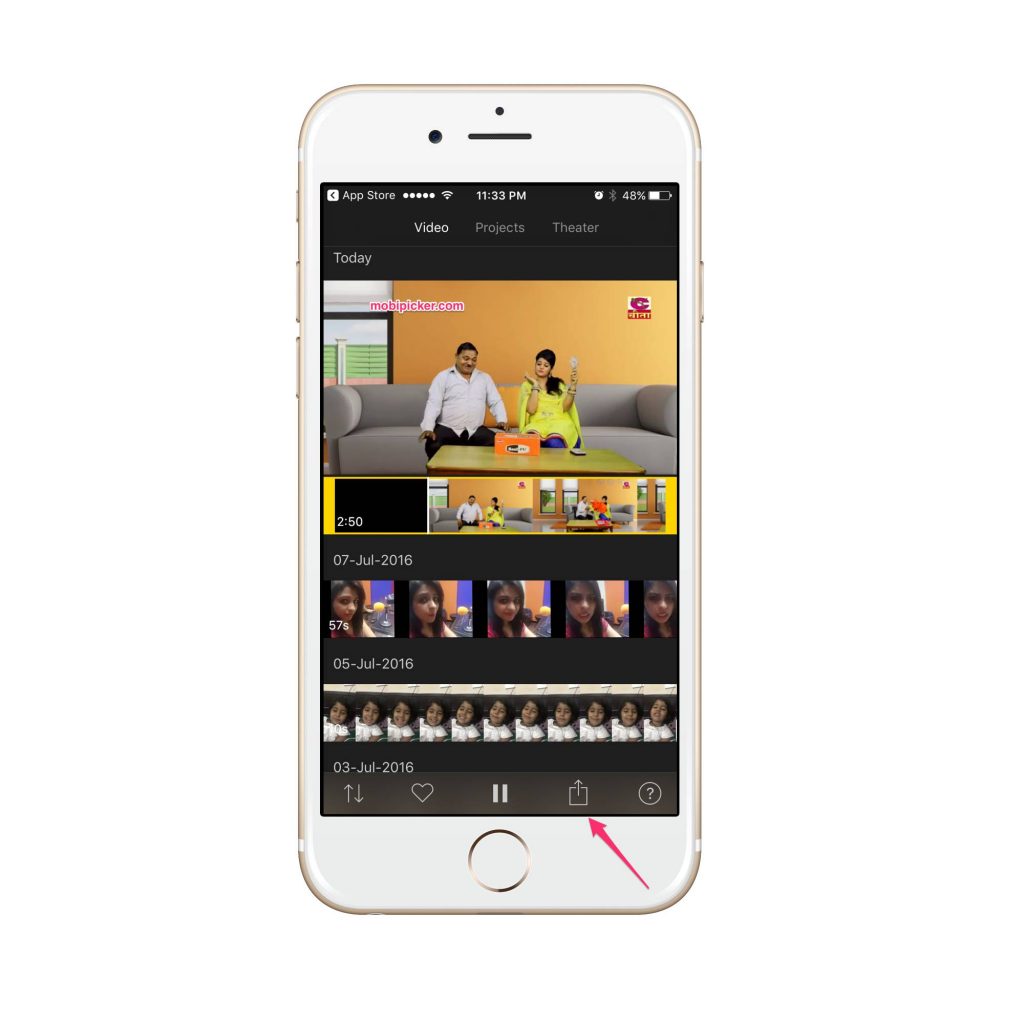
3. After choosing the video from the selection list, locate the Share/Action button (see the arrow shown in the image above) and click it. The button looks like a box that has an arrow flying out the top of it.
4. Now locate the option that says Create Movie and click it.

5. Once the video has been launched in iMovie, place two of your fingers at a distance of around one inch on the screen.

6. Now rotate your fingers just like you would while rotating a dial in the direction that you want to rotate video on iPhone or iPad. And you video will rotate in the direction of your fingers as shown in the image below.
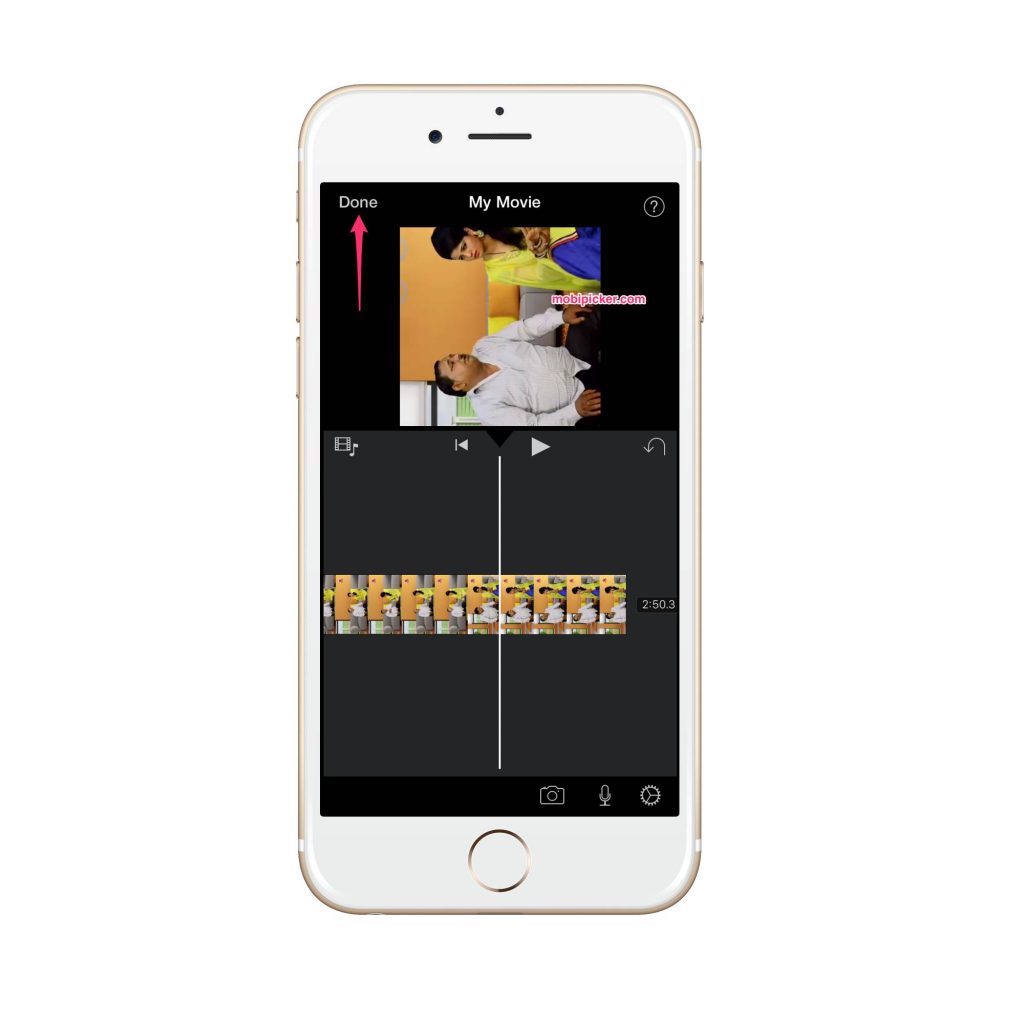 8. Once you have rotated the video in the direction that you wanted it to, you can now locate and click on the ‘Done’ button (as shown in the image above).
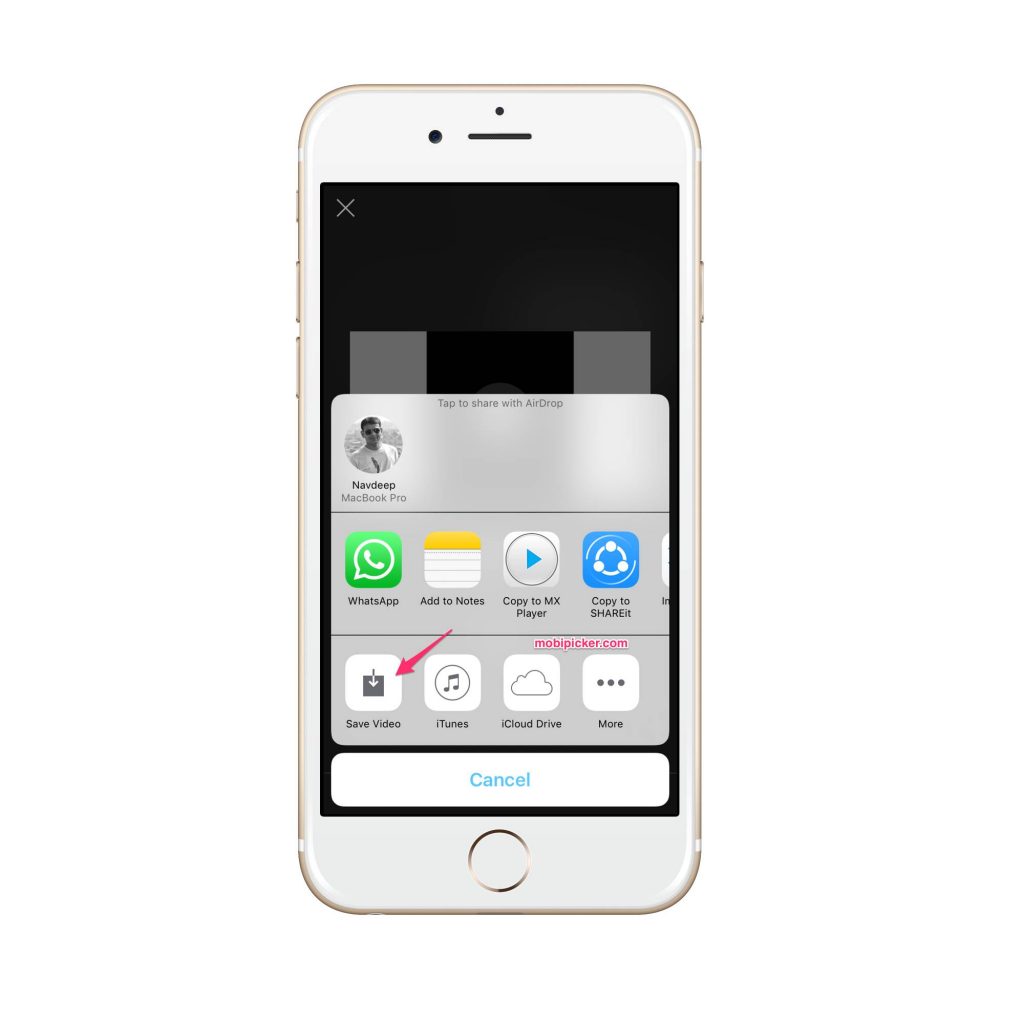
9. Now locate the sharing button again and click it.
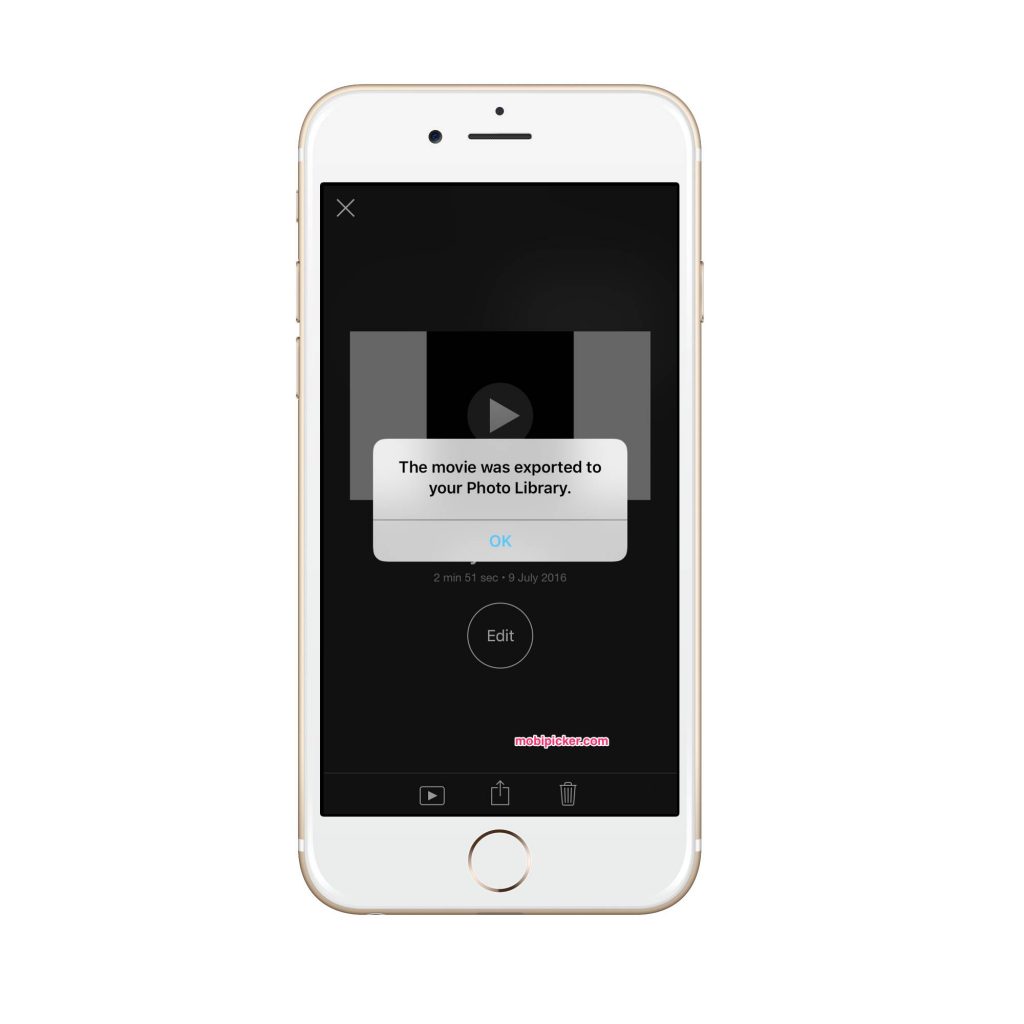
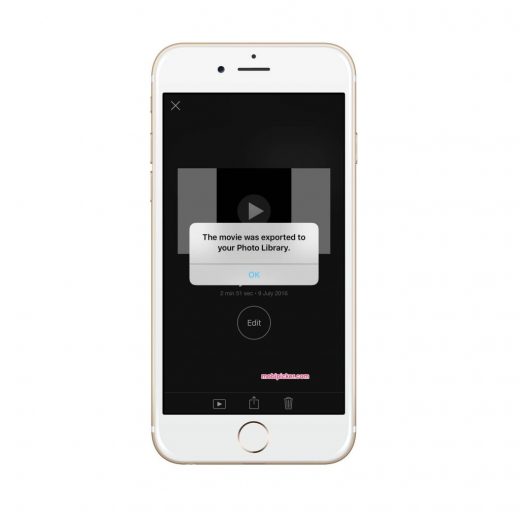
10. This time, you need to click on the option that says Save Video. Alternatively, however, if you would like to share the video to a particular platform directly, you can choose to share it on Facebook, iCloud etc.
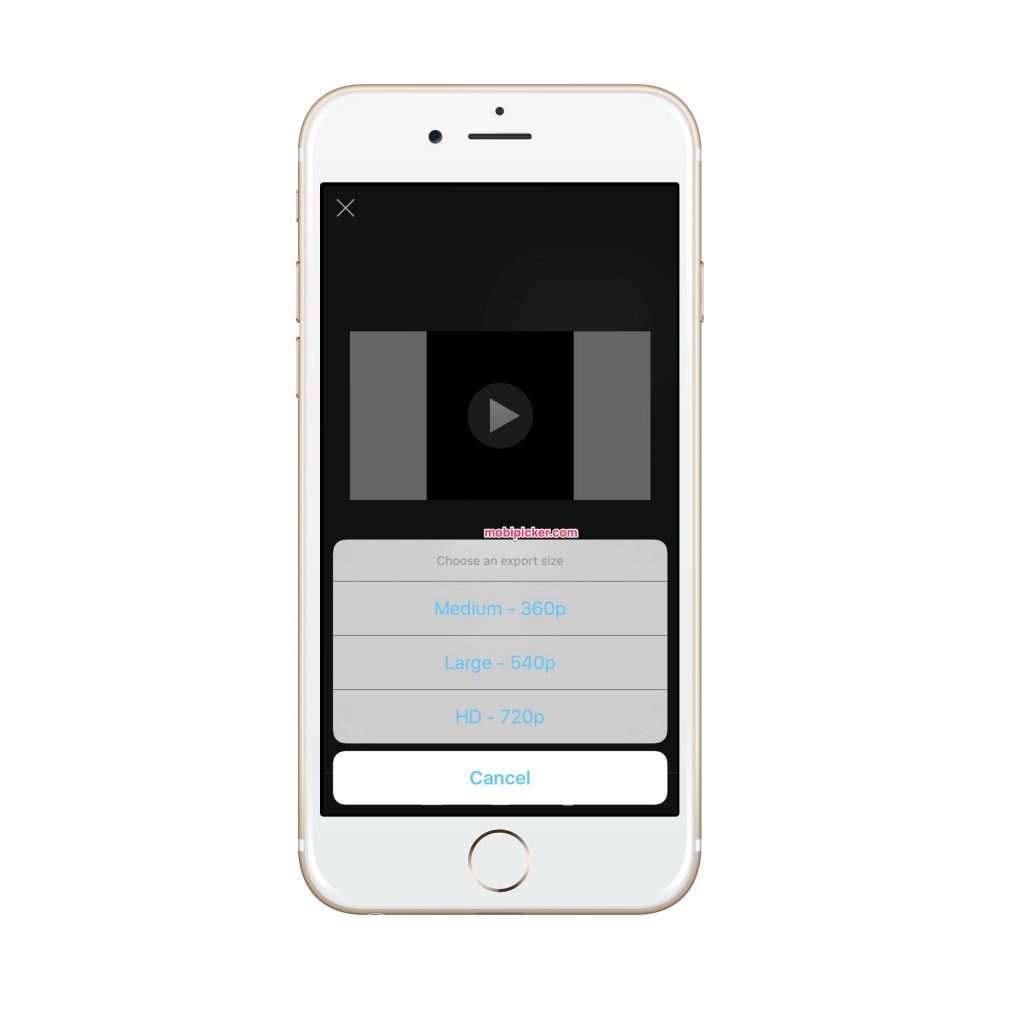
11. Once you have clicked Save Video, you will be given options to determine the resolution of your saved video. You can choose from 360p, 540p, 720p, and 1080p.
12. iMovie will take a few minutes to rotate and save your video to the photo library of your iPhone or iPad. Once completed, you can play the rotated version easily from your gallery.

Provided that you have followed the steps of our how to rotate a video on iPhone properly, you would be able to have your vertically captured videos rotated easily. Remember that there are a number of third-party applications which can help rotate video on iPhone or iPad as well, but iMovie certainly is one of the most convenient and the most efficient option available at your disposal. Give it a go and you won’t have to be disappointed for sure. If you have any doubts or facing problems to rotate video on iPhone / iPad, drop us a comment below.
The post How To Rotate Video On iPhone And iPad Easily appeared first on MobiPicker.
(23)