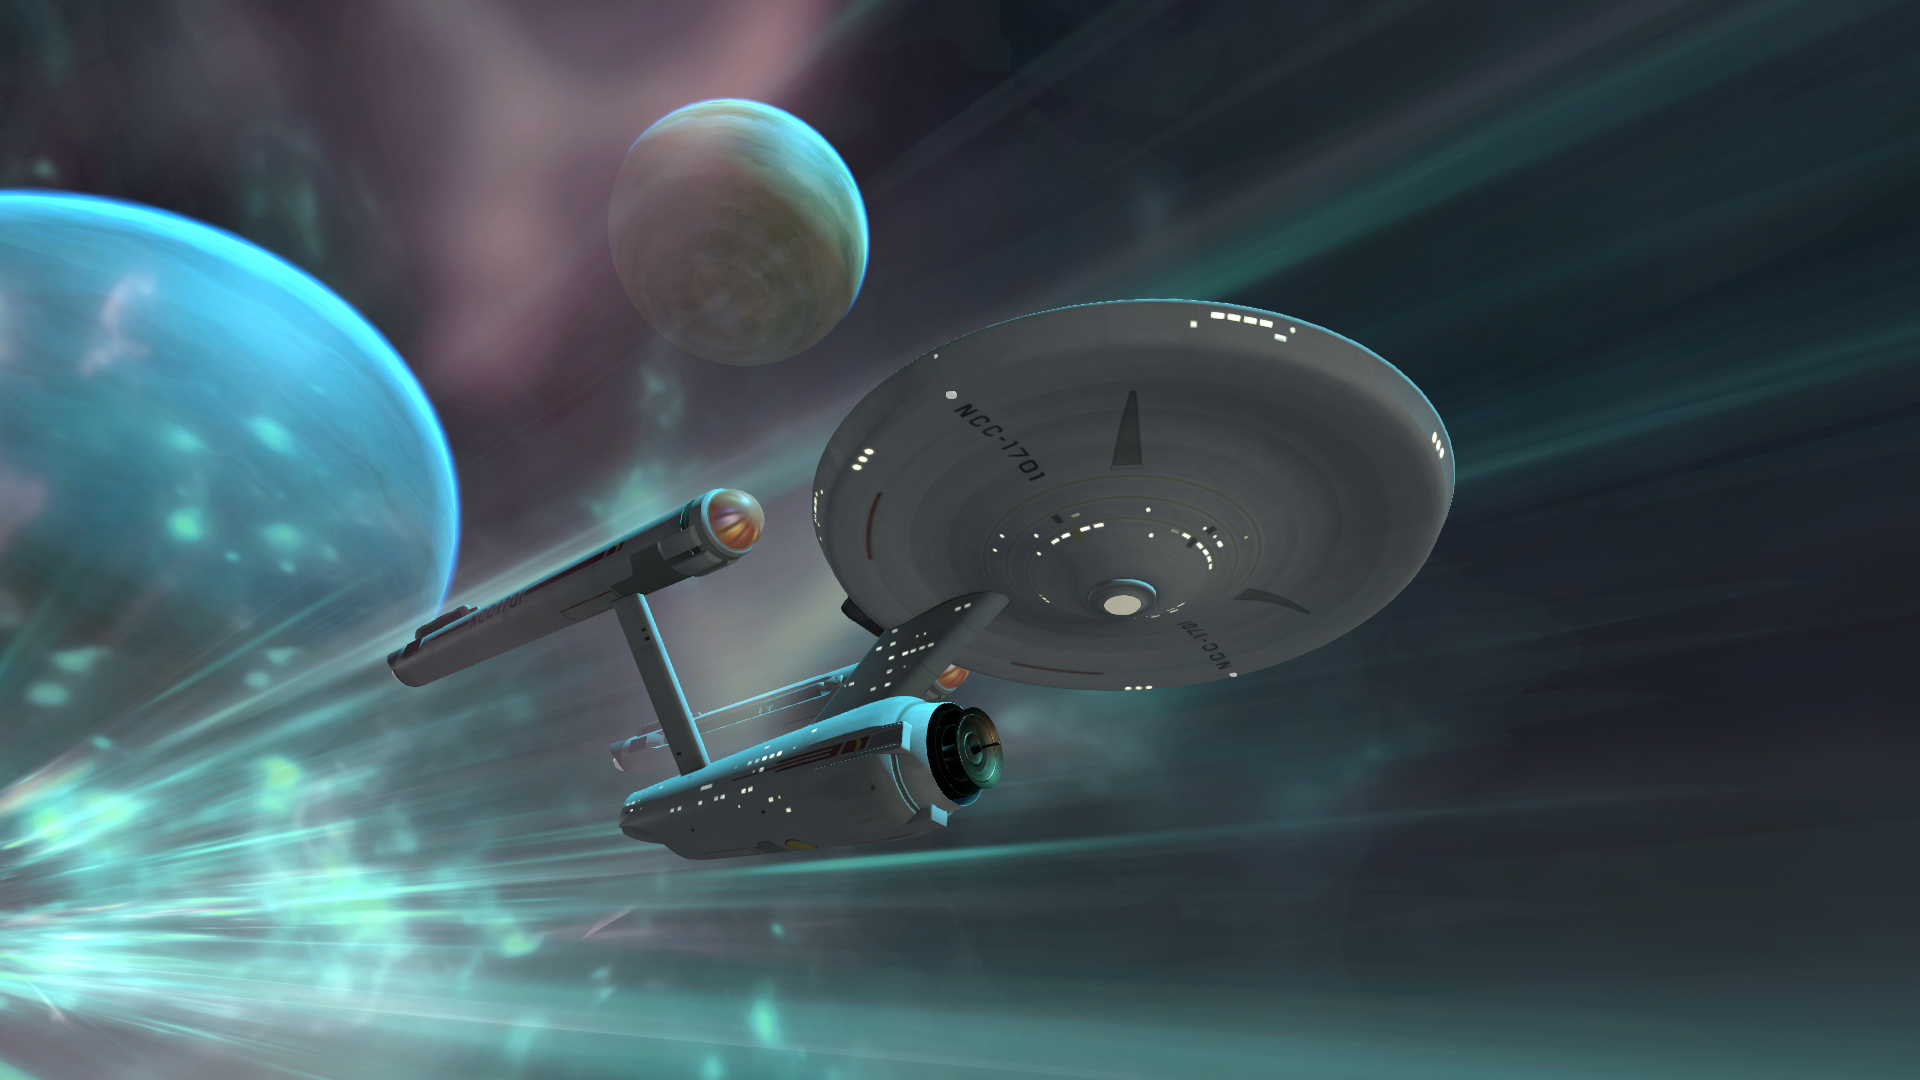
Star Trek: Bridge Crew – Teaming Up on the Aegis and Enterprise
Star Trek: Bridge Crew – Teaming Up on the Aegis and Enterprise
Commanding a Federation starship isn’t just a matter of soaring through asteroid fields and blasting enemy vessels into space dust. It takes coordination and communication, two skills that you’ll find essential when playing Star Trek: Bridge Crew. While you can play the VR starship simulator as a lone captain, the complete experience involves up to four online players barking commands and status updates at each other in stressful situations.

The full experience is coming to VR-enabled platforms May 30, and the UbiBlog crew recently had a chance to test its teamwork skills by running two missions: rescuing stranded colonists from hostile Klingon space aboard the gleaming, custom-built bridge of the Aegis; and tracking an escaping fugitive on the bridge of the original series’ Enterprise, which was re-created down to the last detail from set replicas and fan-researched schematics. Because we each occupied different roles through the two simulations, we’ll each give a quick rundown of the experience, starting with…
Chris Watters: Captain
It’s important for any Federation captain to have the confidence to lead, but the confidence to captain the crew on your first time playing Star Trek: Bridge Crew? Well, that’s another matter. Fortunately, the Bridge Crew tutorials provide a great rundown of each role’s responsibilities. In addition to learning what lies within the captain’s purview, you also learn what tasks fall to the helm, tactical, and engineering stations. When you take the bridge solo, you’ll see a command wheel pop up whenever you look at another station, but when you’re playing with other folks, it’s up to them to carry out their station-specific actions.

And it’s up to you to tell them what to do. The captain alone can see the objectives and guide the mission, calling on each crew person to do their duty. It helps if you know exactly what those duties are, but as a first-time captain, I found that even my less-than-confident commands were readily interpreted by crew members. Selecting a destination on my map and saying, “We need to warp here,” triggered Engineering to charge up the warp drive while Helm brought us around to the correct heading. I learned that warping was a two-stage process only after issuing a few premature “Engage!” commands, but my enthusiasm was, umm, good for crew morale (they laughed at me).
Once we got into a combat situation, I felt the Captain’s chair heat up. It started with the always-enjoyable activation of red alert (good for keeping your crew on their toes in down times!), but I soon had my hands full staying on top of the situation. Though individual crew members can see the shield/hull status, the ship’s position in space, and the enemy’s position, it’s up to the Captain to coordinate everyone’s efforts while pursuing the objective. We often had time-sensitive tasks to accomplish while we were engaged with enemy ships, and I soon understood why Picard was always demanding that his team members “Report!”

Updates from the crew were crucial as I calculated how close to cut our exit when rescuing people from escape pods as a deadly solar event approached. Marshaling our resources to make that daring last-minute exit was a thrill that made me feel the power of the Captain’s role. Later, as we struggled to maneuver inside an asteroid field and engage Klingon Warbirds, I felt the desperation of not being able to set everything right myself, and the agony of potentially having the ship destroyed on watch (it wasn’t). These emotions are some of the highs and lows that you see represented again and again in the best Star Trek episodes, and feeling them flow through me as I sat on the bridge made me eager to take the con again.
Giancarlo Varanini: Tactical
Being a tactical officer is a big responsibility on a Federation starship, because all of the ship’s weaponry and shields are at your fingertips along with the controls for scanning, transporting, and system intrusions (shared between other stations). In other words, when your ship gets into a conflict with a couple of enemy Klingon vessels while trying to transport survivors from rescue pods, things can get a little dicey. Fortunately, it doesn’t take long to figure out what you need to do and when on the Aegis. Early missions will ease you into the concept and habit of lowering shields before transporting and scanning ships, which not only gives you information on individual ship systems, but also makes it possible to target them individually for intrusions – in case you need to disable a friendly ship’s engines to prevent them from drifting into an anomaly, for example.

As for combat, firing phasers and torpedoes is straightforward, but general awareness and communication both play a key role if you want to be a good tactical officer. When our crew moved from the bridge of the Aegis to the Enterprise, we started a mission that put us in pursuit of a pirate that eventually made their way into an asteroid field. When playing in the tactical spot, your first inclination might be to fire everything you have right away to disable or destroy a ship, but in this scenario, I didn’t realize was that most of my torpedoes were simply hitting asteroids and not the enemy vessel. That’s when I started listening a little bit more to my captain and crewmates as they worked to position the ship out of asteroid clusters, giving me a better chance of actually hitting the enemy ship.
Whether you’ve saved stranded survivors or defeated Klingons in the heat of battle, there’s a great sense of relief when everything seems to go right at tactical, but you might take most of the blame if things don’t go your way.

Mikel Reparaz: Engineering (Aegis), Helm (Enterprise)
The bridge’s engineer is an excellent fit for players who like to take a support role; you won’t be engaging hostiles or steering the ship, but you WILL be in charge of routing power to the ship’s different systems – specifically phasers, engines, and shields, each of which can be assigned up to five levels of power. In the early parts of our first mission aboard the Aegis, this job wasn’t too intense, and mostly meant keeping the engines powered up enough to enable impulse travel – but things quickly heated up once we’d drawn the attention of a few Klingons.
Ideally, the engineer’s job is in a dangerous situation is to keep power consumption low enough that the ship stays undetectable – but once you’ve been seen, it’s all about redistributing power on the fly so that shields stay strong and phasers can hit their mark. Interestingly, phaser power isn’t about strength, but range – if a target is, say, less than 10 kilometers away, you probably won’t need more than one or two levels of power, while fully powered phasers have a reach of up to 20 km. If maximum power simply isn’t enough for the situation, you can also reroute power from the other systems, boosting a function beyond its normal capacity – although this can damage the ship if you do it for too long.
As the hull absorbs damage, certain crucial systems will take a hit as well. When that happens, the engineering officer has three repair crews that can be assigned on the fly to fix shield emitters, engines, torpedoes, phaser banks, scanners, or the ship’s warp core. And speaking of warp, it’s also engineering’s job to charge the warp core when it’s time to leave a system, creating a narrow window during which the helmsman can line the ship up with its destination and engage the warp drive.

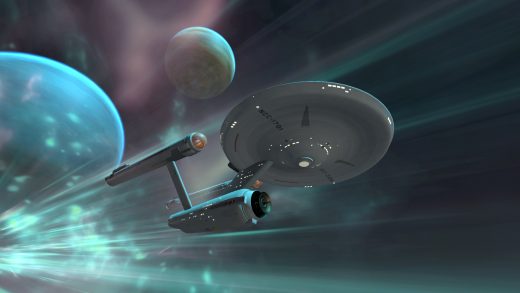
When we switched from the Aegis to the original-series Enterprise, I transferred over to the helm and was immediately struck by how different the controls were. In re-creating the original bridge, the developers strove to be as accurate as possible, visiting a replica of the original sets and studying fan-made documentation of the controls and what they (generally) do. As a result, the helm controls I was staring at were a lot like what George Takei saw as Hikaru Sulu: a six-by-six panel of unlabeled cubic gumdrop buttons, with a panel of switches just below them.
Thankfully, Star Trek: Bridge Crew lets you pull up an overlay of button functions (on both the Aegis and the Enterprise), making it clear what everything does. The ship was steered through a WASD-like grouping of keys, and switching the camera angle let me see an outside view of the ship that was clearer than the Enterprise’s small (compared to the Aegis, anyway) viewscreen, giving me a better chance of navigating around asteroids and other space debris. The switches, it turned out, activated the impulse and warp drives, both of which allow for faster travel. Both of these also require you to coordinate with engineering, whether it’s to make sure the engines have enough power for impulse, or to charge the warp coils so you can blast off to new systems.

Given that the original set was built more for looks than functionality, steering the Enterprise didn’t feel as intuitive as the Aegis’ controls – but the faithfulness and detail of Bridge Crew’s re-creation promises to be a fantastic experience for dedicated fans.
Star Trek: Bridge Crew will be available for Oculus Rift, HTC Vive, and PlayStation VR on May 30. For more on the game, check out our previous coverage:
Star Trek: Bridge Crew Adds Enterprise Bridge, Set to Launch May 30
Star Trek: Bridge Crew – Going Boldly Into VR
Star Trek: Bridge Crew Brings the Starfleet Experience to Virtual Reality
The post Star Trek: Bridge Crew – Teaming Up on the Aegis and Enterprise appeared first on UbiBlog – Ubisoft®.
(86)

